I love Thanksgiving!! It is a great time for family and friends to get together and just be thankful for everything in their lives. There is only one bad but good part 🙂 FOOD!! We eat lots and lots of food and then feel sick! Ugh!
While Thanksgiving is a good day for food and fun we can make healthier alternatives to green bean casserole!!

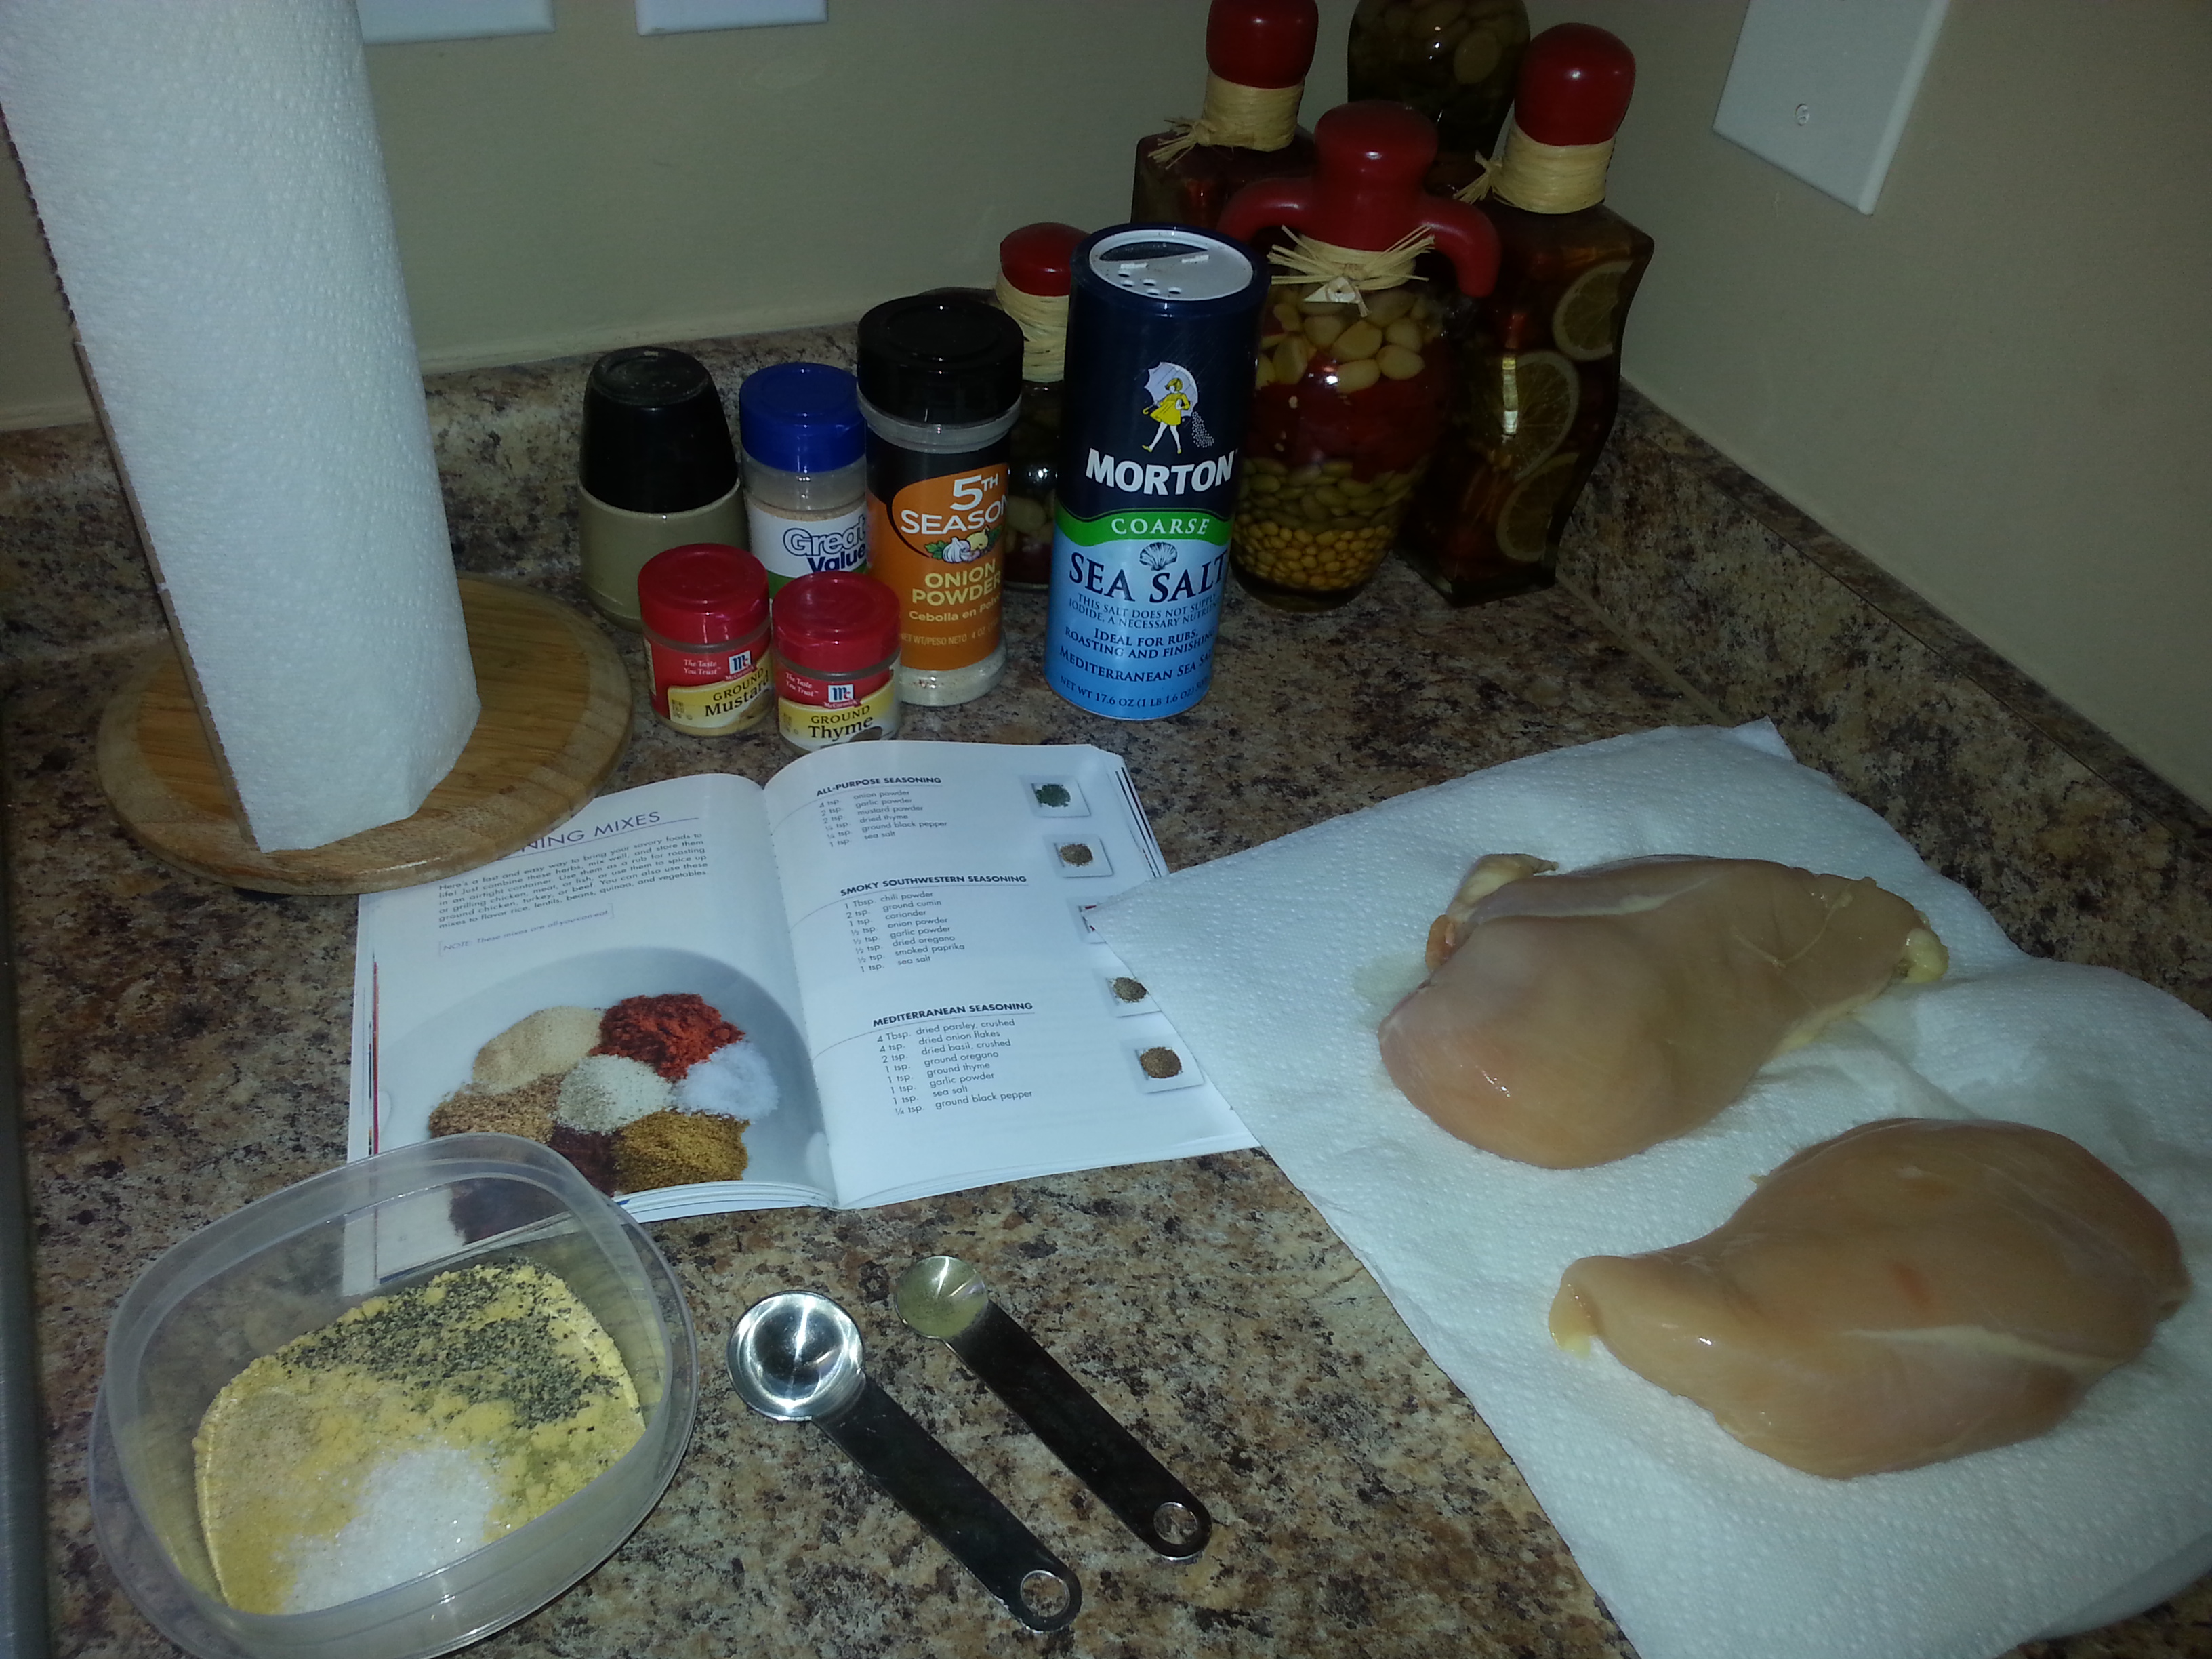
Here is what you will need:
1/4 cup olive oil
6 medium shallots, sliced into rings (about 1 cup)
1 1/2 pounds thin fresh string beans or haricots verts, trimmed
1 pound button mushrooms, sliced
6 large cloves garlic, minced
1 tablespoon chopped fresh thyme
3 cups low-fat (1 percent) milk
3 tablespoons all-purpose flour
1/3 cup plus 2 tablespoons freshly grated parmesan cheese
1/2 cup finely chopped fresh parsley
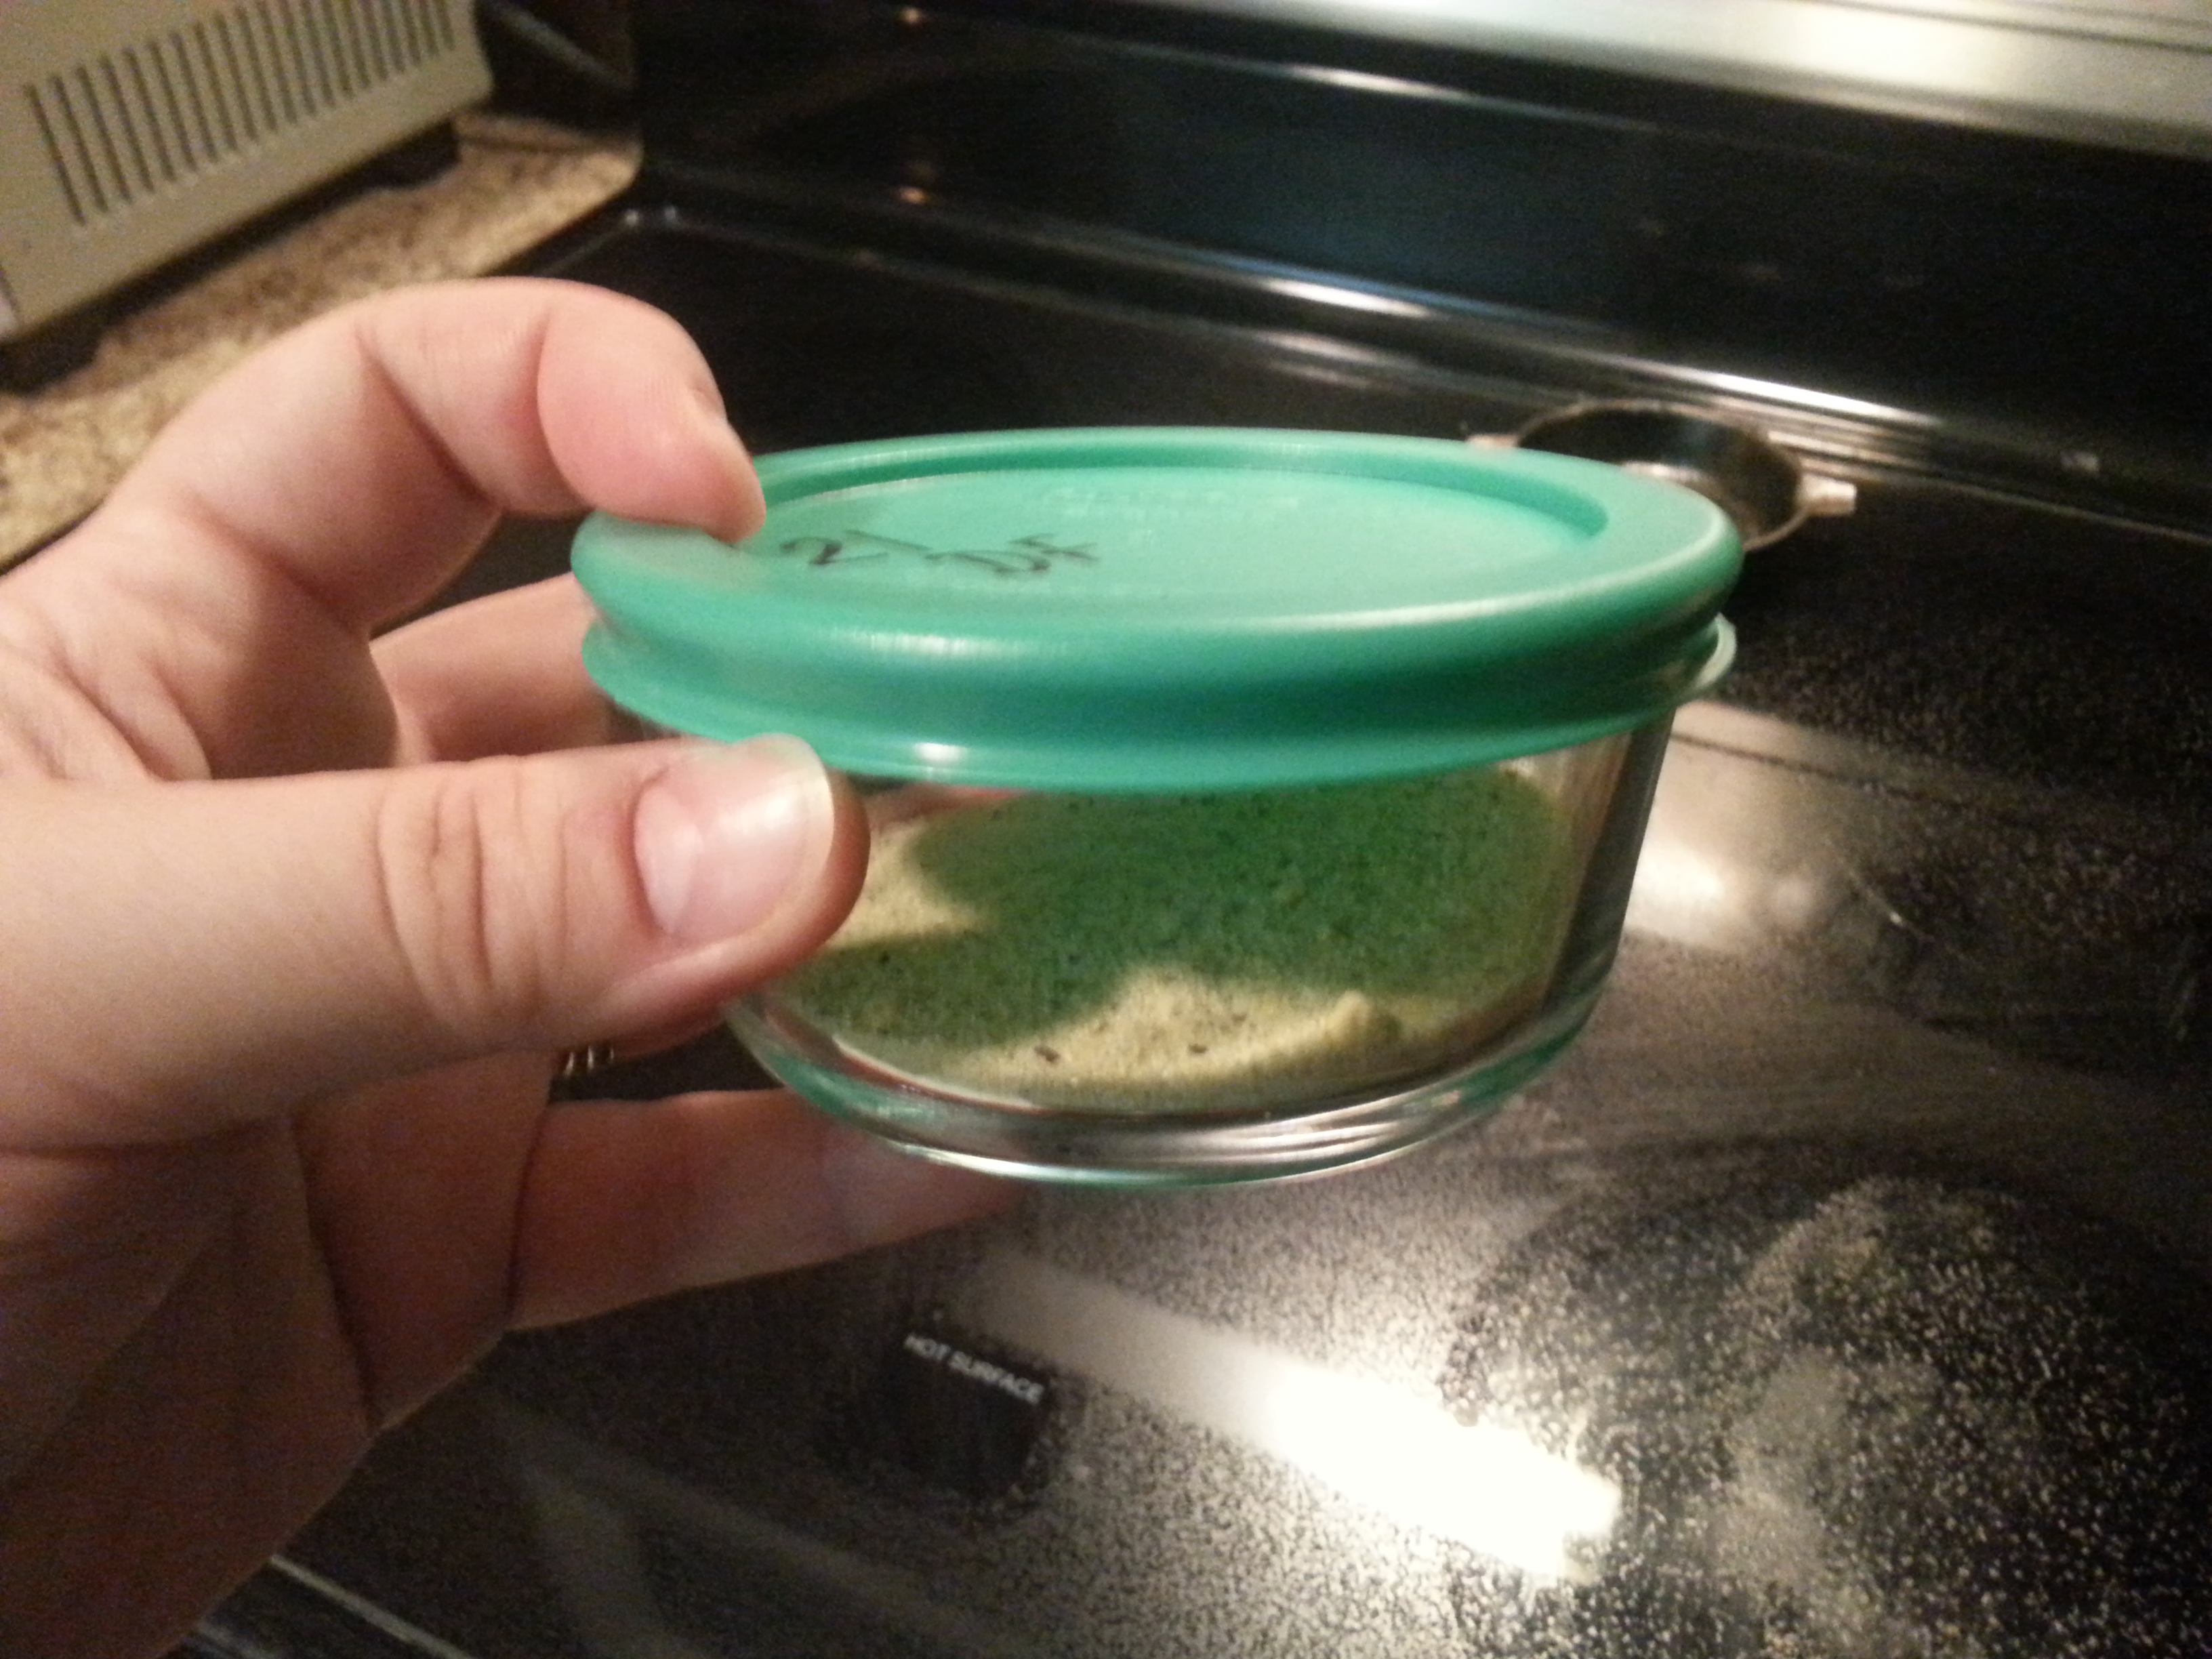
1/4 teaspoon ground nutmeg
Salt and freshly ground pepper
Olive oil cooking spray
Total Time – 1 hour 25 minutes
Prep Time – 33 minutes —- Cook Time – 55 minutes
Directions:
Preheat the oven to 375 degrees F. Heat the olive oil in a small skillet over medium-high heat until very hot but not smoking. Add 1/4 cup shallots and cook, stirring, until golden brown and crisp, about 2 minutes. Transfer with a slotted spoon to paper towels to drain. Repeat with the remaining shallots, cooking 1/4 cup at a time. Reserve the oil in the skillet.
Place the green beans in a steamer basket fitted over a pot of boiling water. Cover and steam until bright green and still crisp, about 3 minutes.
Heat 1 tablespoon of the reserved shallot oil in a large, deep nonstick skillet over medium-high heat. Add the mushrooms and cook, stirring occasionally, until the mushroom liquid is evaporated and they begin to brown, about 12 minutes. Add the garlic and thyme and cook, stirring, 1 minute. Transfer the mushroom mixture to a bowl.
Whisk together the milk and flour until the flour is dissolved. Add the mixture to the skillet and, whisking constantly, bring to a simmer. Reduce the heat to medium low, whisking occasionally, until thickened, 10 to 15 minutes. Remove the pan from the heat and stir in the green beans, mushroom mixture, 1/3 cup parmesan cheese, the parsley, nutmeg, 3/4 teaspoon salt and 1/2 teaspoon pepper.
Coat a 2-quart baking dish with cooking spray. Spoon the green bean mixture into the prepared dish and sprinkle the top with the crispy shallots and the remaining 2 tablespoons cheese. Bake until golden on top and bubbling, about 20 minutes.
Nutritional Analysis Per Serving (Yields 8 Servings)
Calories 186
Total Fat 9 g
Saturated Fat 2 g
Protein 9 g
Total Carbohydrate 19 g
Sugar 9 g
Recipe courtesy Ellie Krieger for Food Network Magazine